I finally got back at it. I have had the brake lines I ordered sitting around my house for over a month so I finally got started.
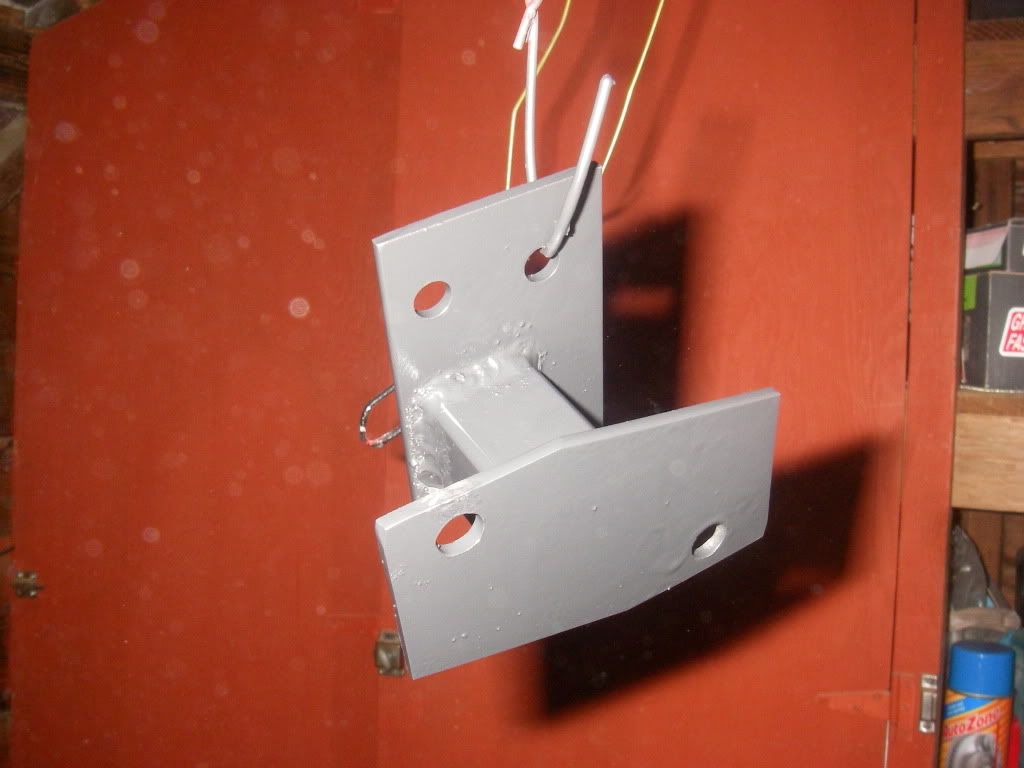
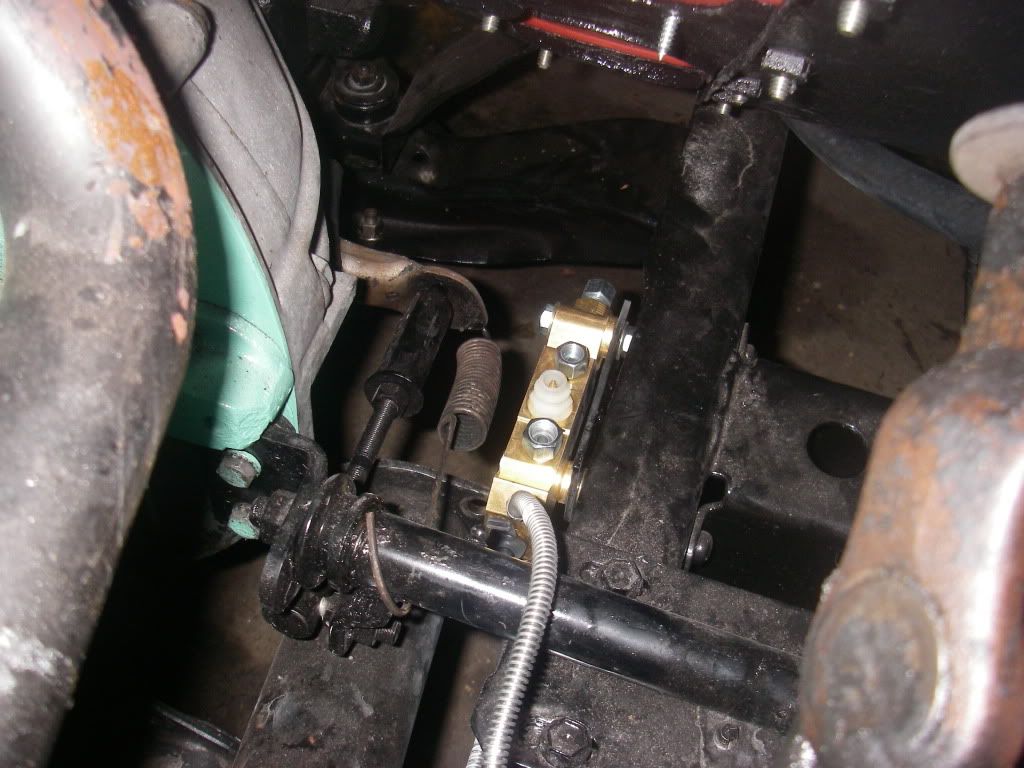
First I had to fab up a mount for the new portioning valve:
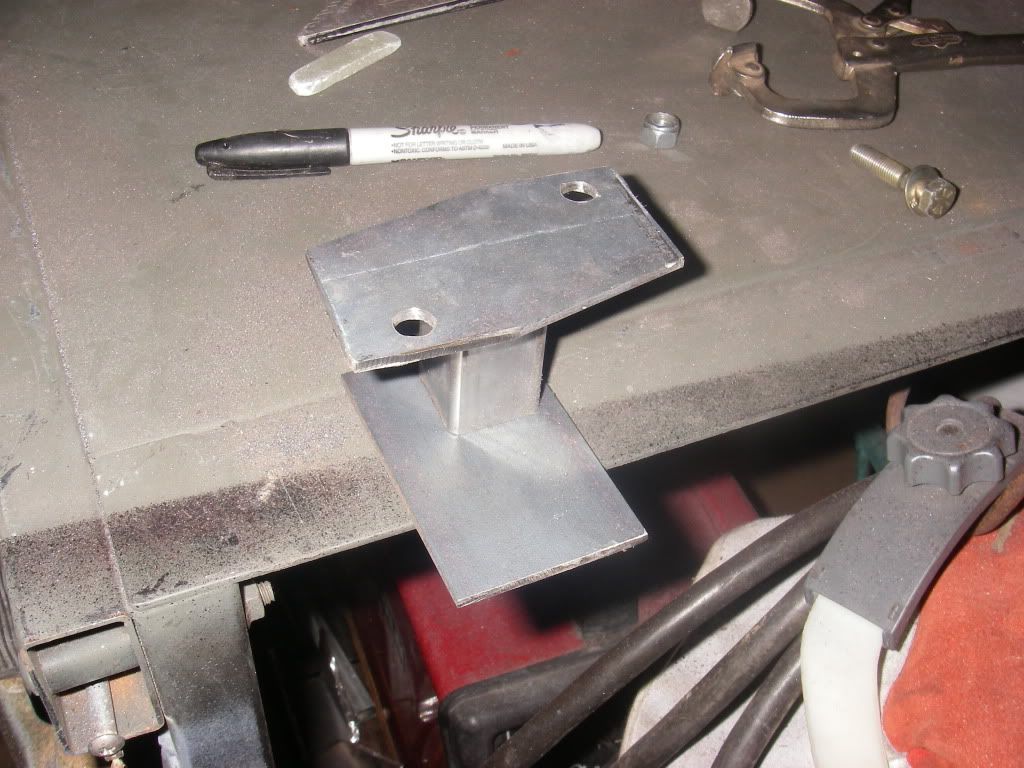
I wasn't really sure what to make so I just took some scrap and started cutting and welding. One thing is for sure, whatever I ended up with is certainly overkill.
After I had the portioning valve mount done I started routing the lines. I tried several different ways but I was really worried about the heat coming off of those headers. I ended up routing the lines inside the shock mount which I guess is ok for now but it is going to be a PITA if I ever had to mess with that mount.
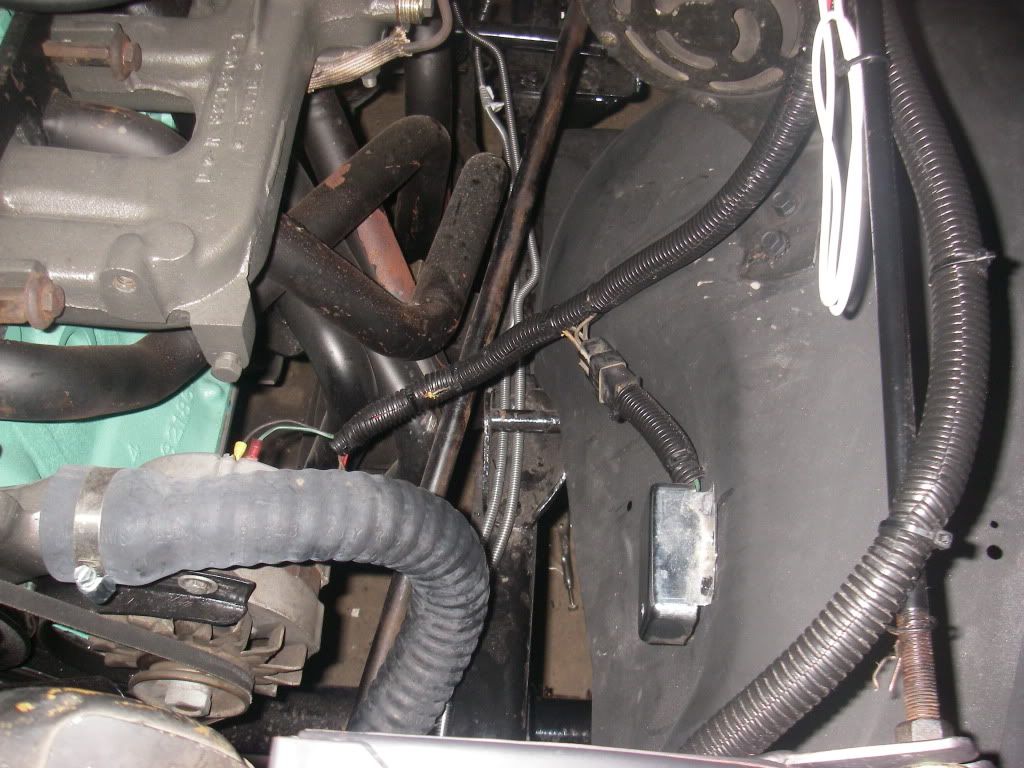
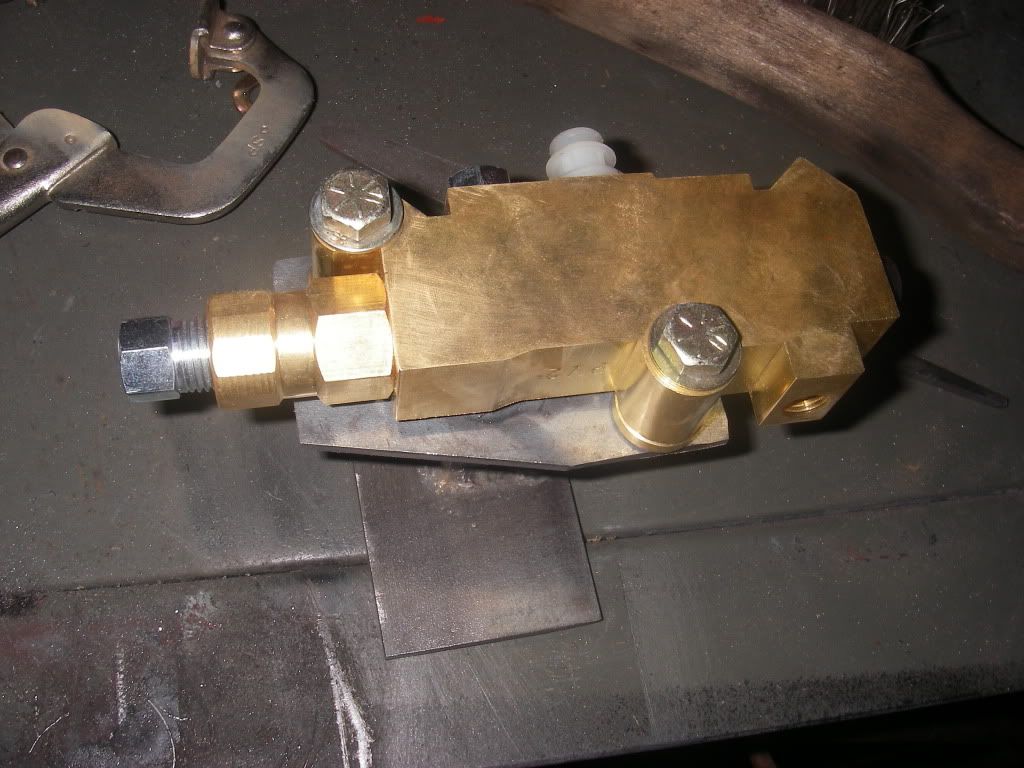
The location of the portioning valve came out pretty sweet. What do you guys think about how close the valve is to the headers? I am just worried about heat.
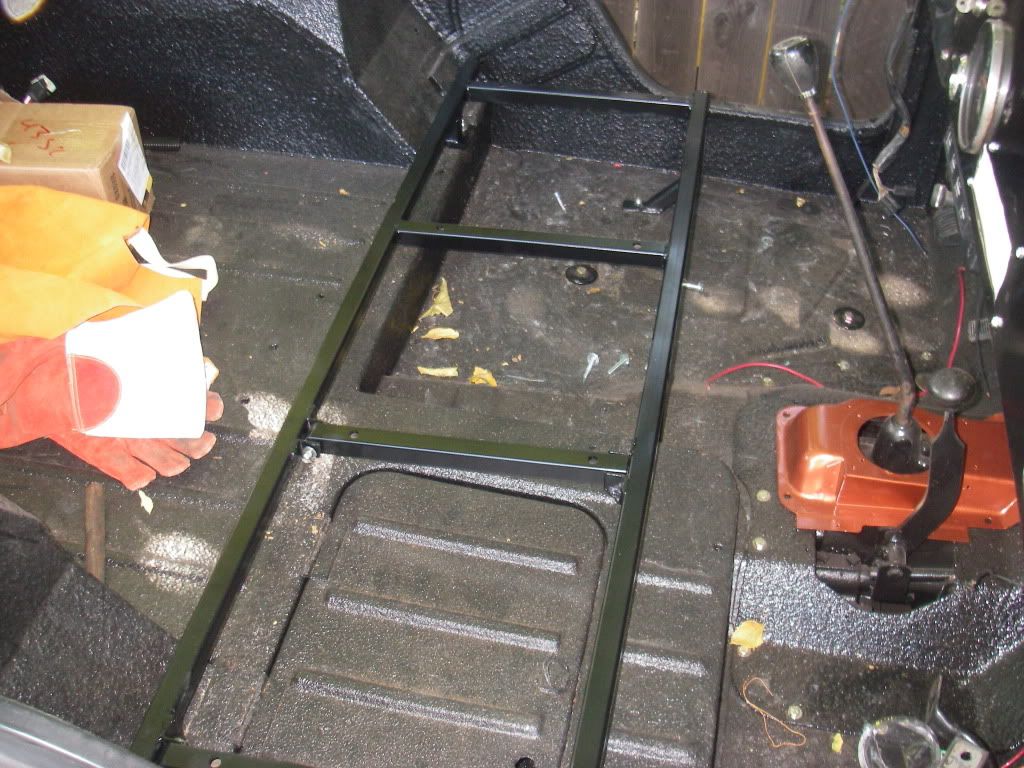
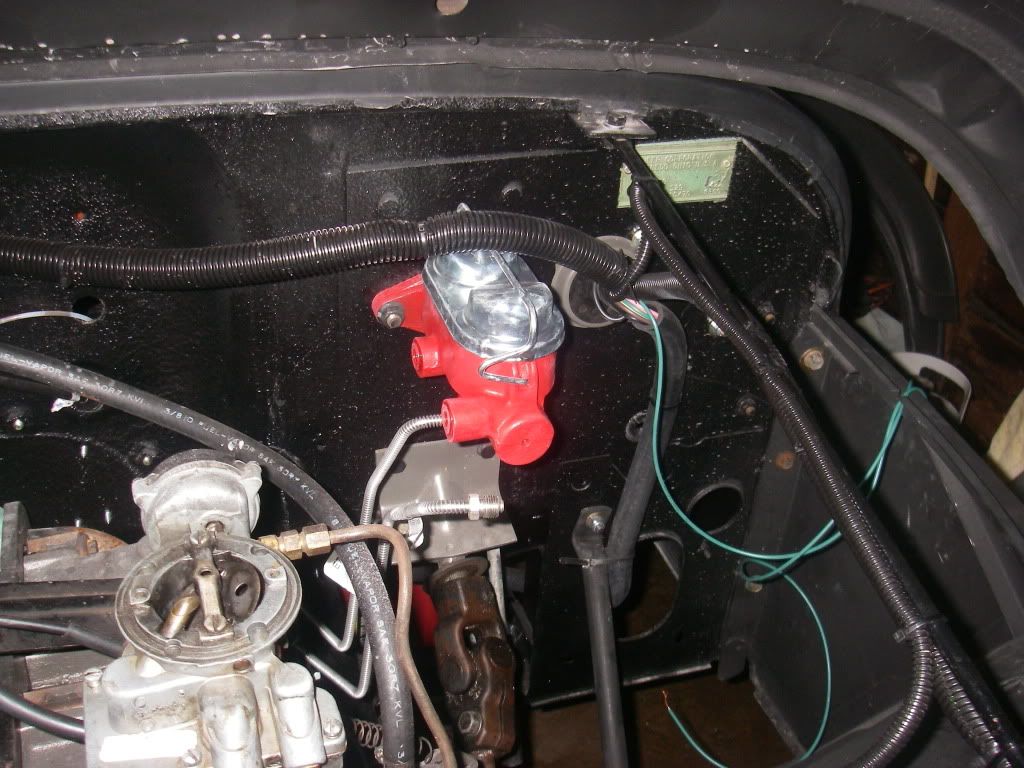
Also I mounted the the master cylinder.
Next all I needed was the new flexible hoses for the brakes.
Got some brake lines made up by Hose and Fittings:
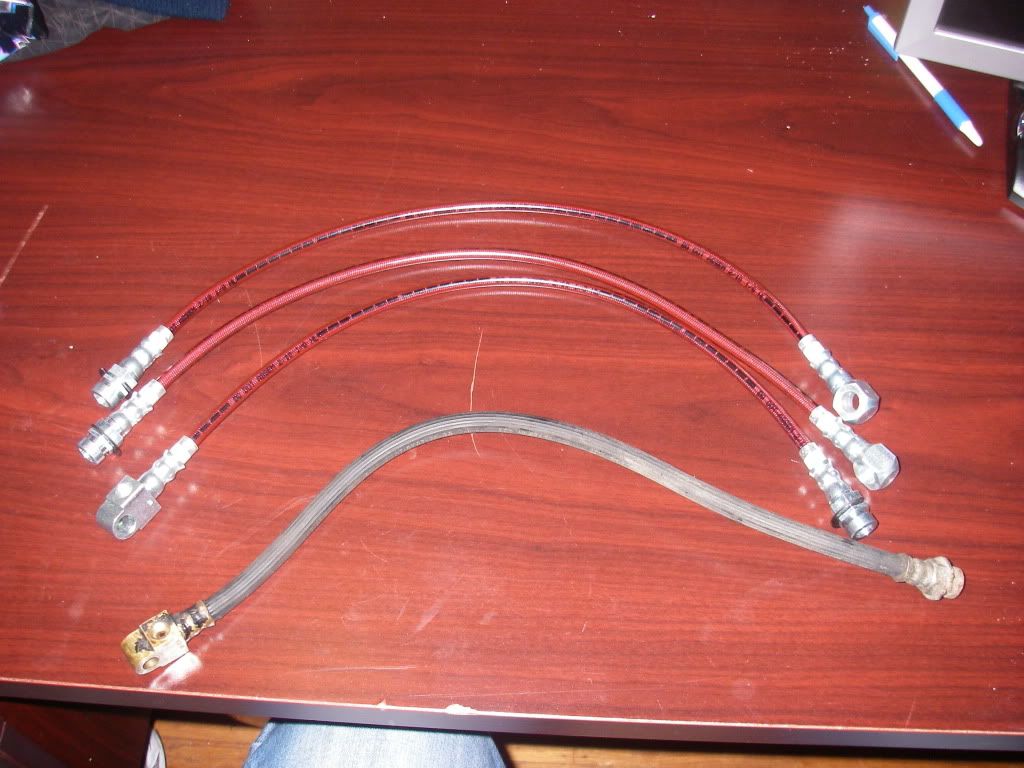
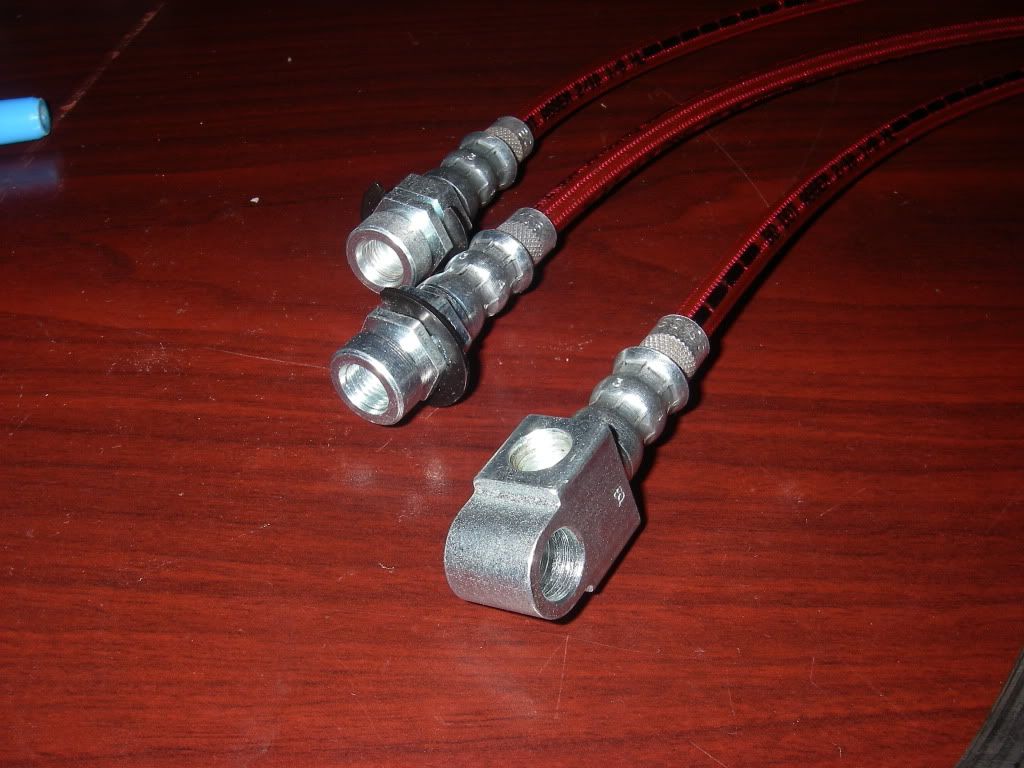
These guys were great. They made my custom hoses quickly and even had some sexy red covered stainless line to make them out of. I am VERY happy with the results. Bolted them on and took the beast for a spin around the block [ With No Tail Lights ]
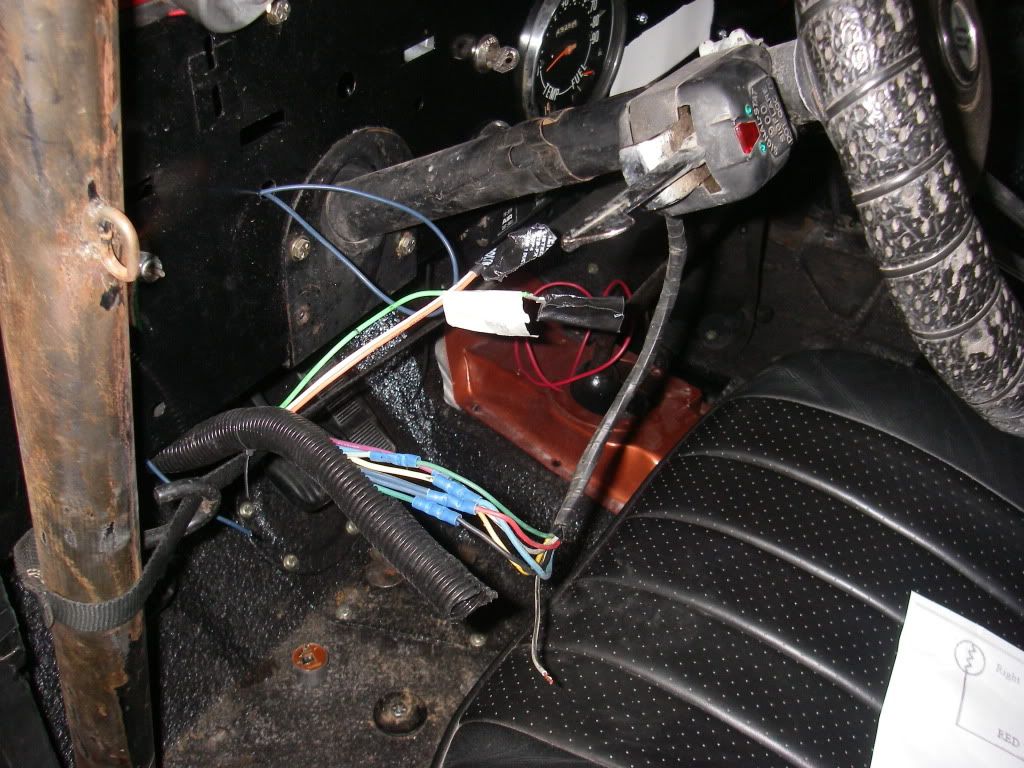
Next I had to figure out how to tie the new EZ Harness into the old column wiring. I also had a weird issue where gas was pouring out of the carb and all over the hot headers (scary). After I let it warm up though that issue seemed to stop and now I cant get it to replicate. I'm sure it will come back when I am finally out with this thing, miles from any help and then it will burst into flames... good times.
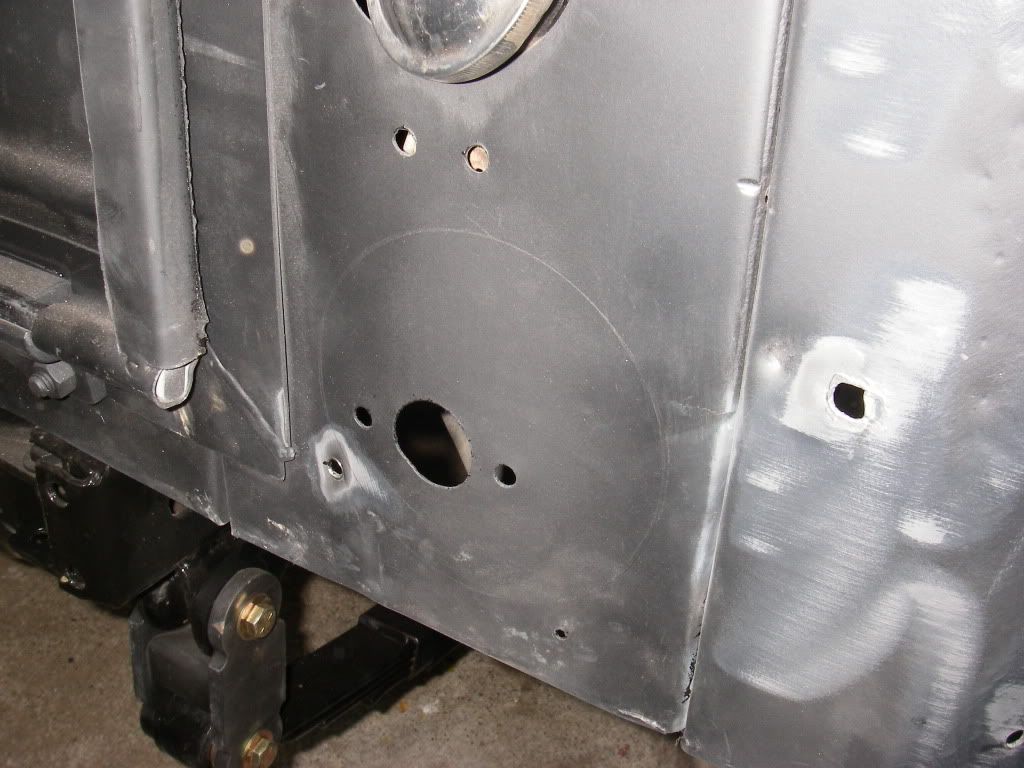
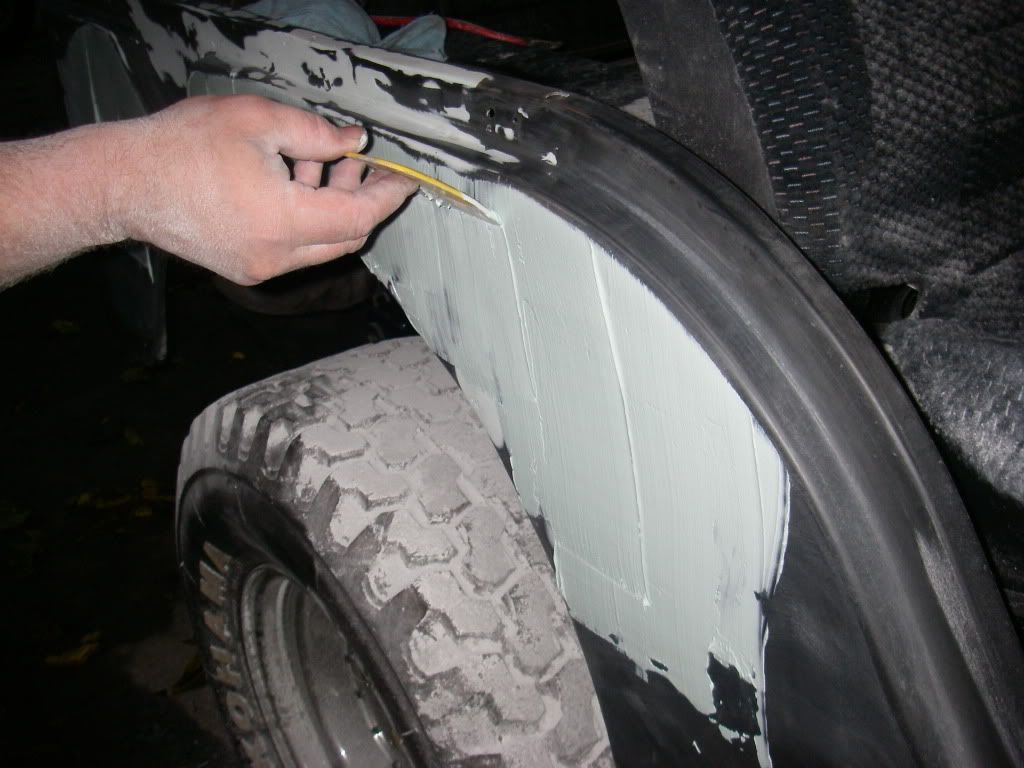
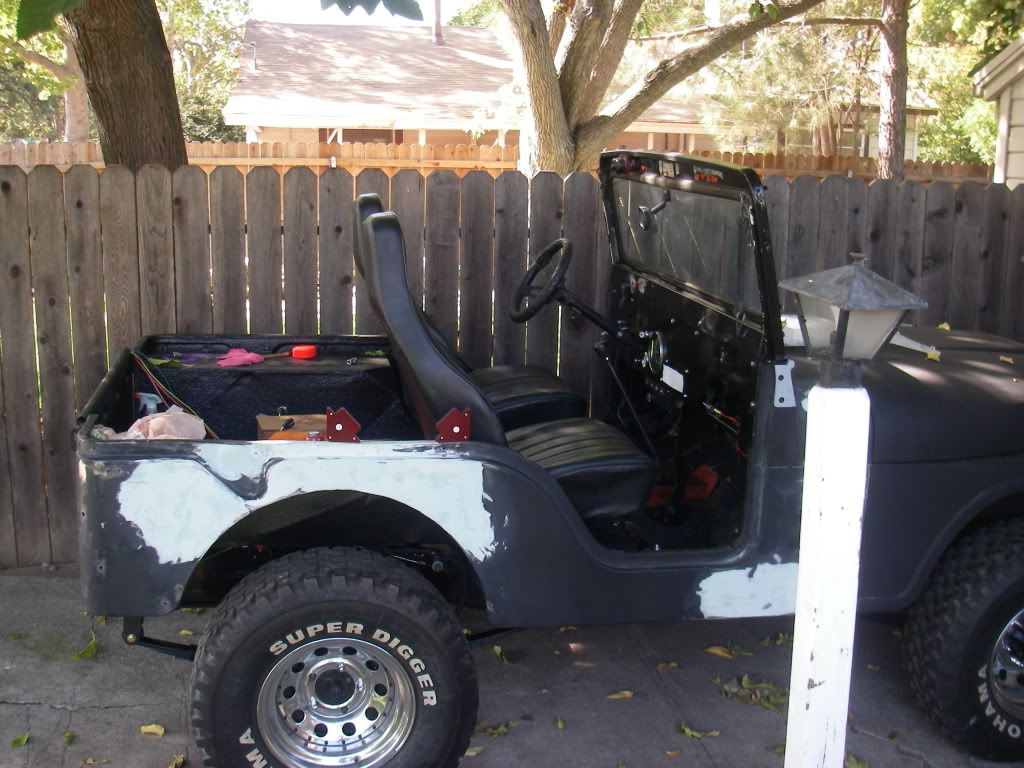
I spent some time doing body work, trying to smooth out the spot where I had to patch the metal behind the pillar.
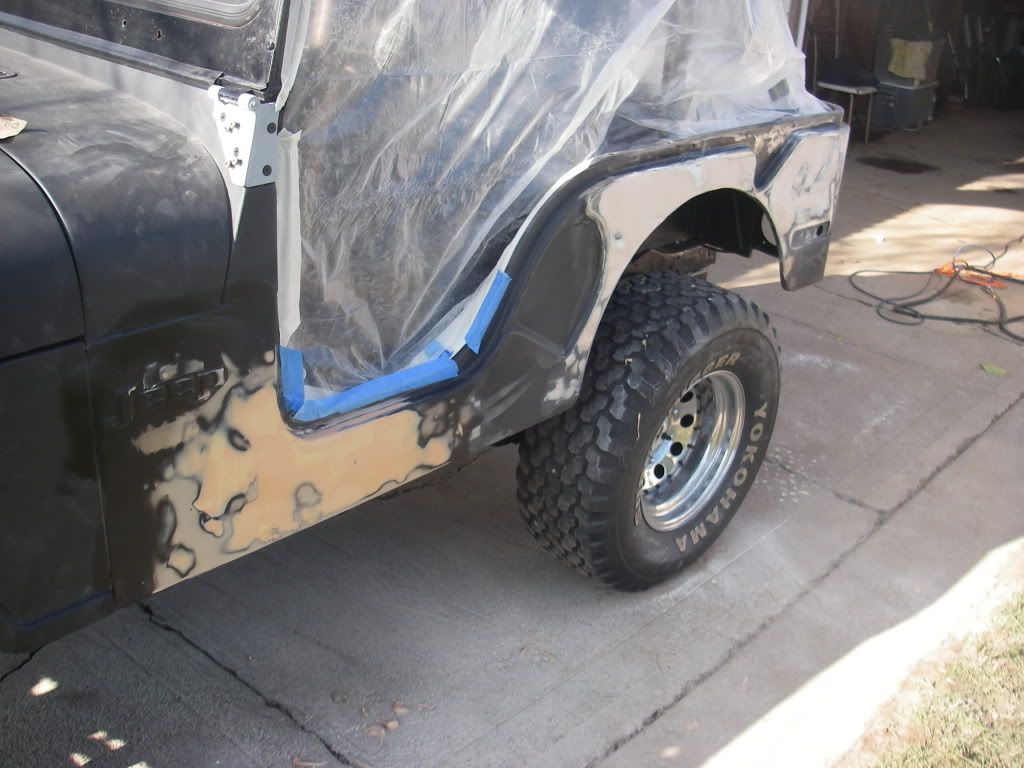
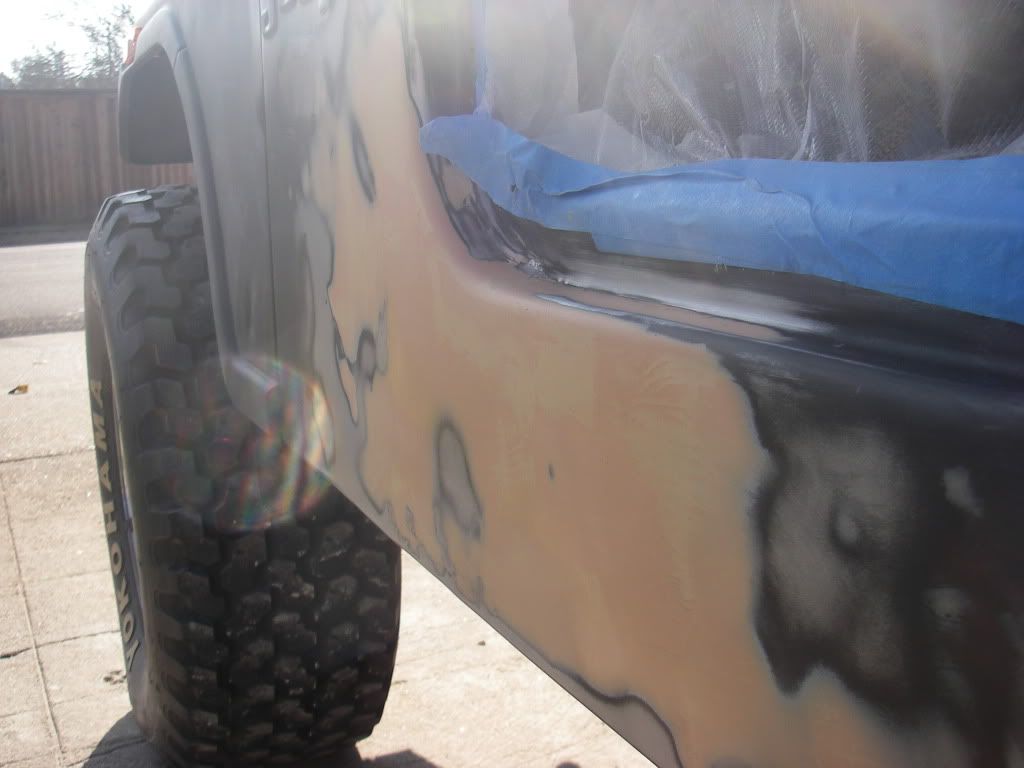
Quick shot of some sandable primer and this side doesn't look half bad:
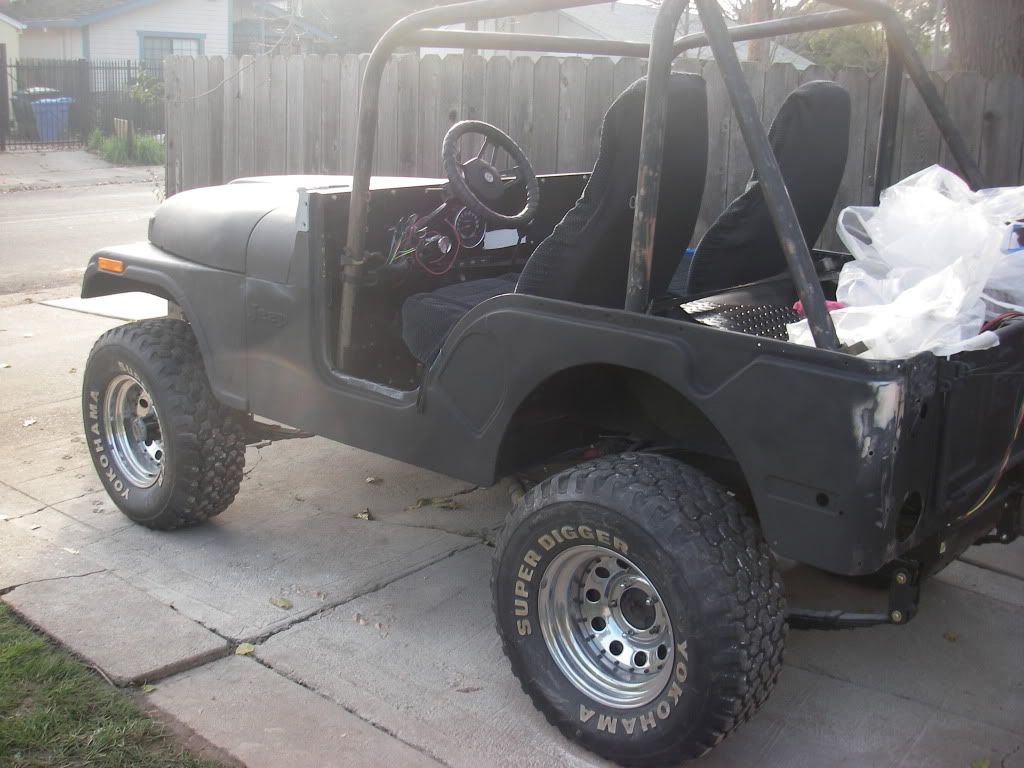
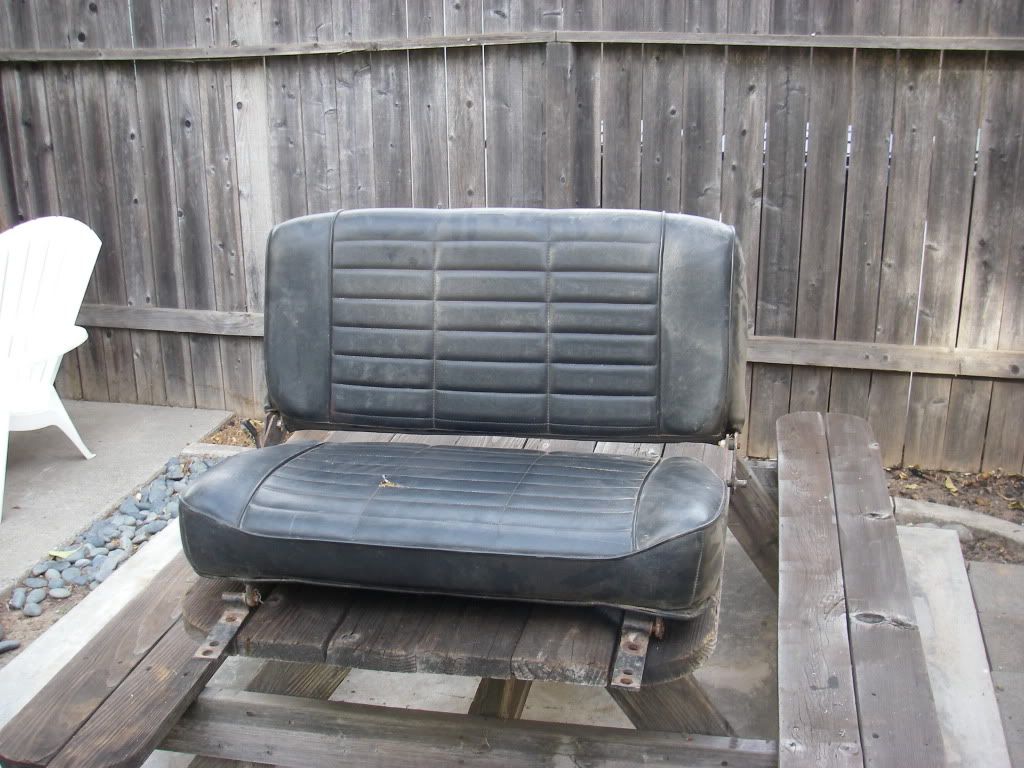
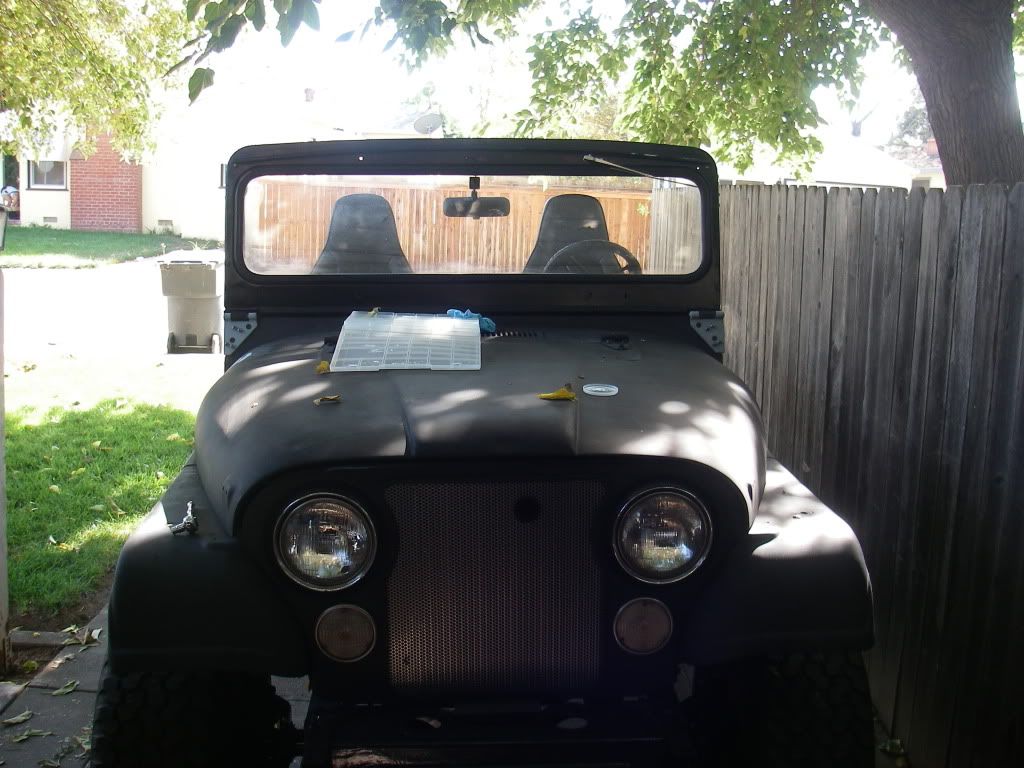
Also sold the old early style windshield and bolted on the '76-'86 style. I dont know if I love it yet, it really took away from the boxy look that was just starting to grow on me. Also, if anyone is looking for a roll cage like the one in the pick, that one is going as well, going to make one up "family style" just because I like the look better.
One thing I noticed right away, this thing is hard as heck to turn with that tiny wheel and those 12.5" tires. I need power steering bad!
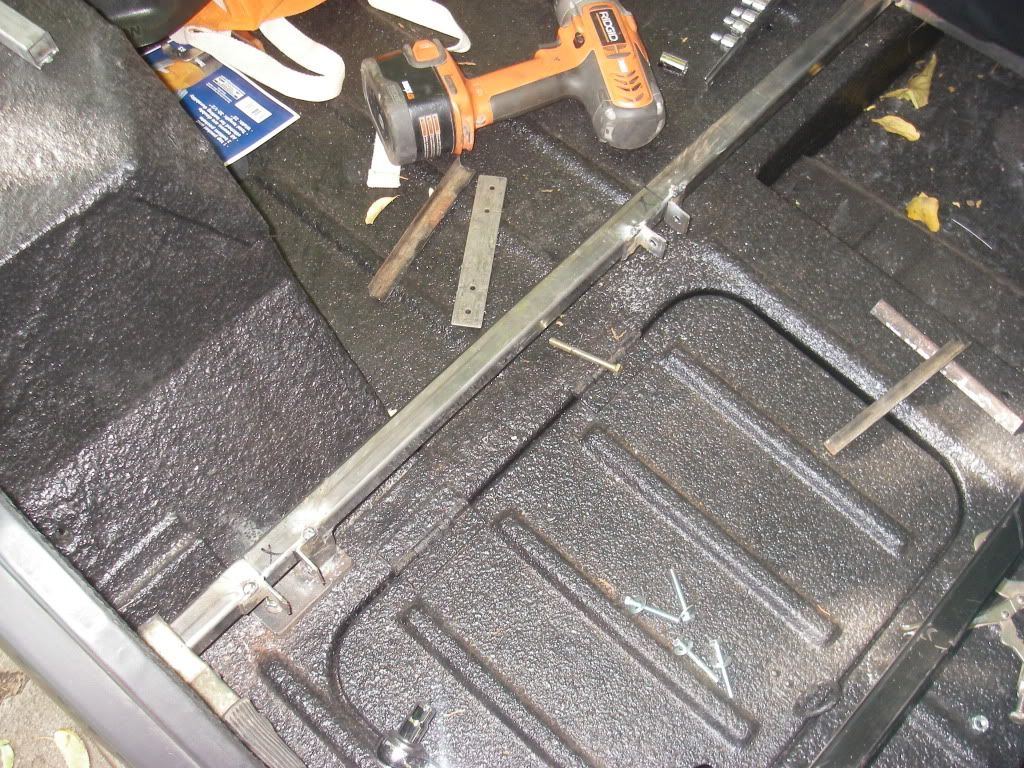
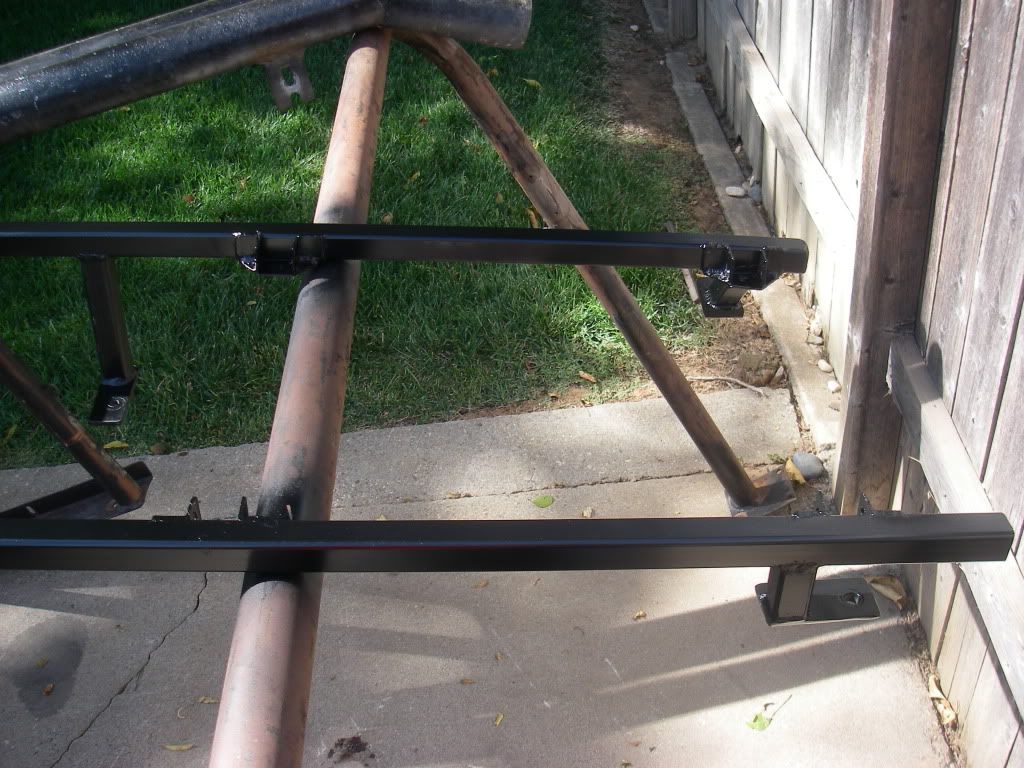
I got distracted making the rear frame cap thing (crossmember?) and the rear bumper.
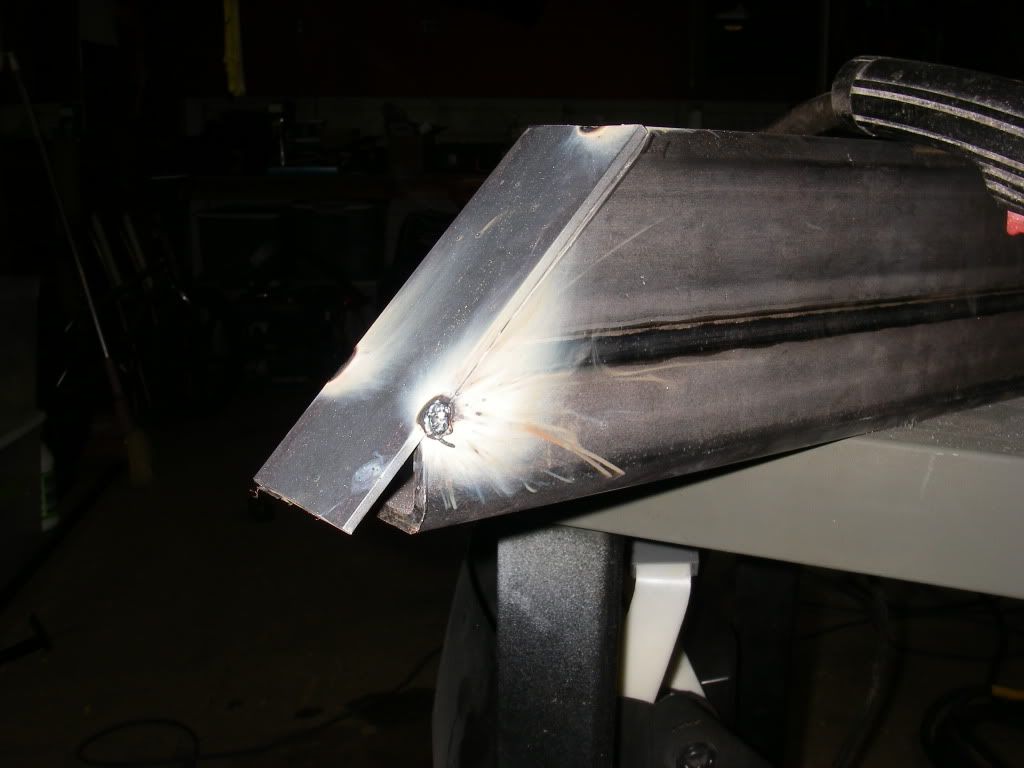
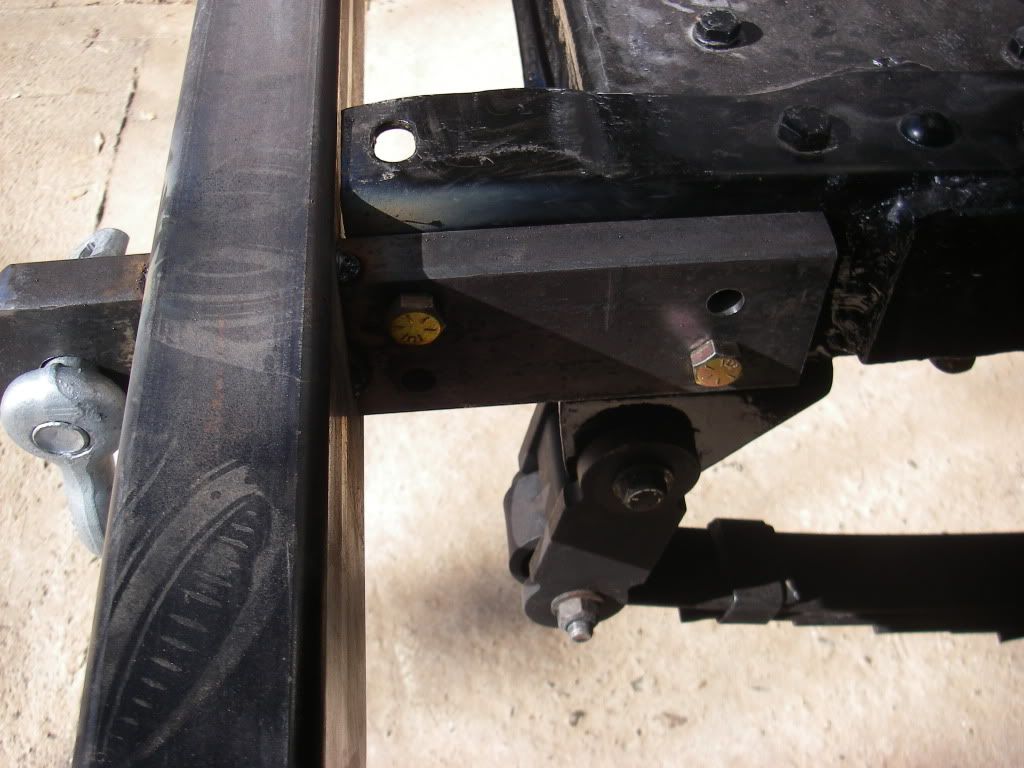
I dont know what his piece is called, but I didnt have one so I made one. I started with a piece of 12ga sheet. Bent it into a channel that would slip exactly over the ends of the frame in the back:
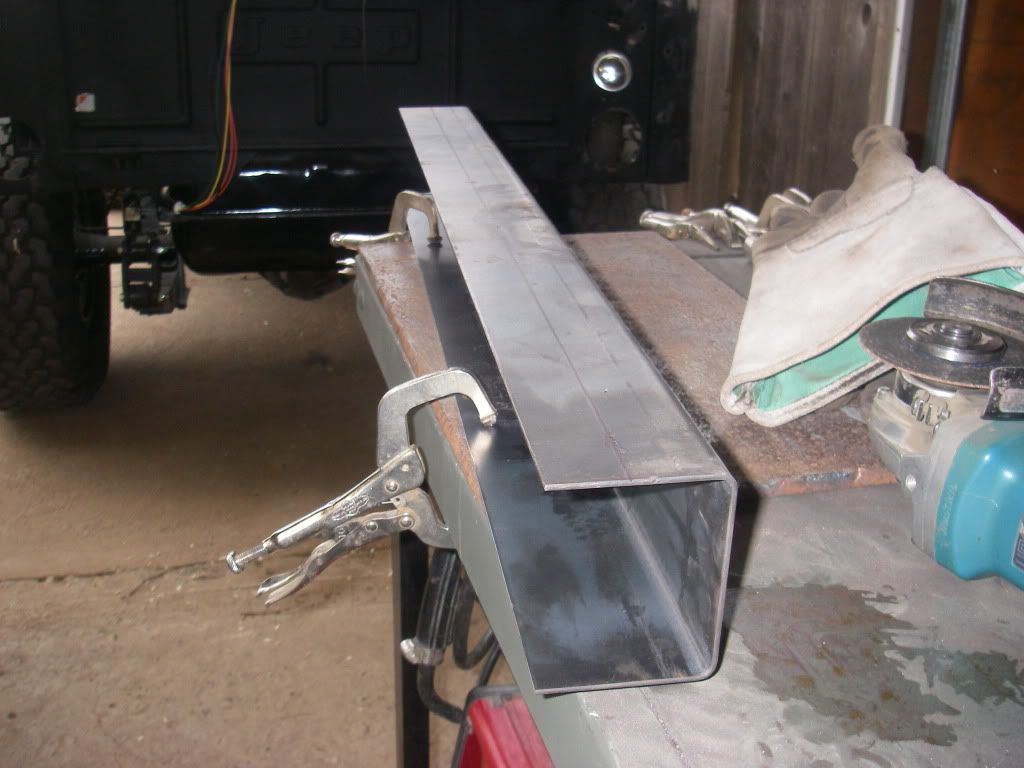
It came out perfect and fits nice and snug over the frame.
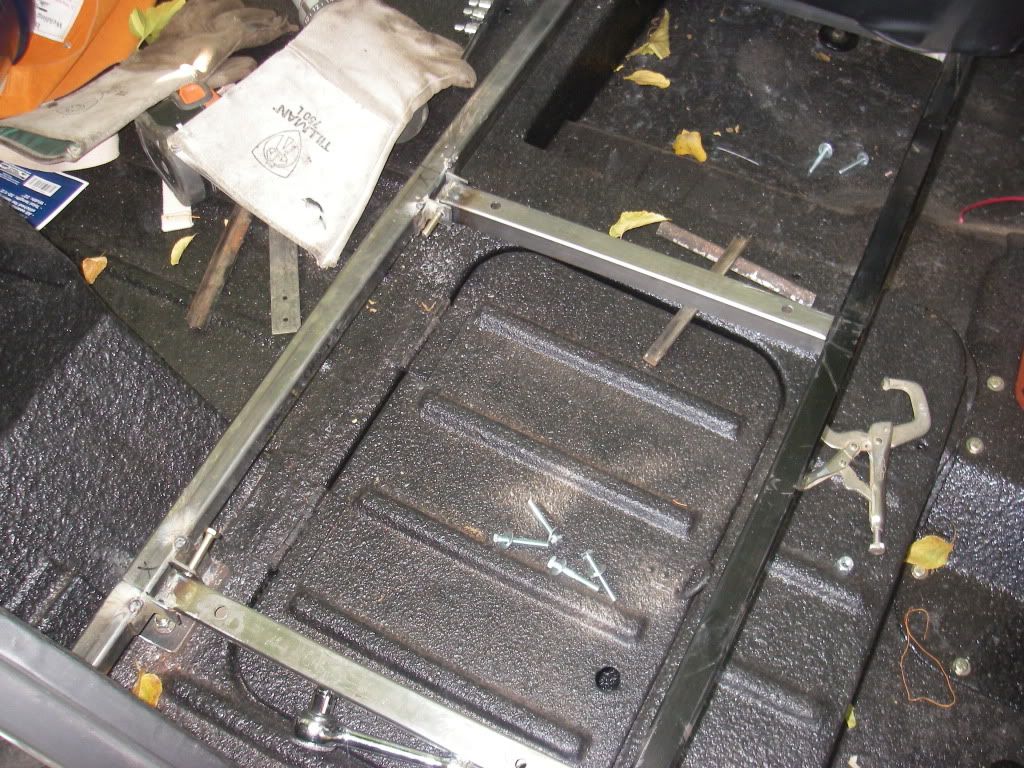
Then I did some hacking on it to make it fit nicely around the gas tank, but still have enough meat where the bolts will go, and have support for the two rear body mounts:
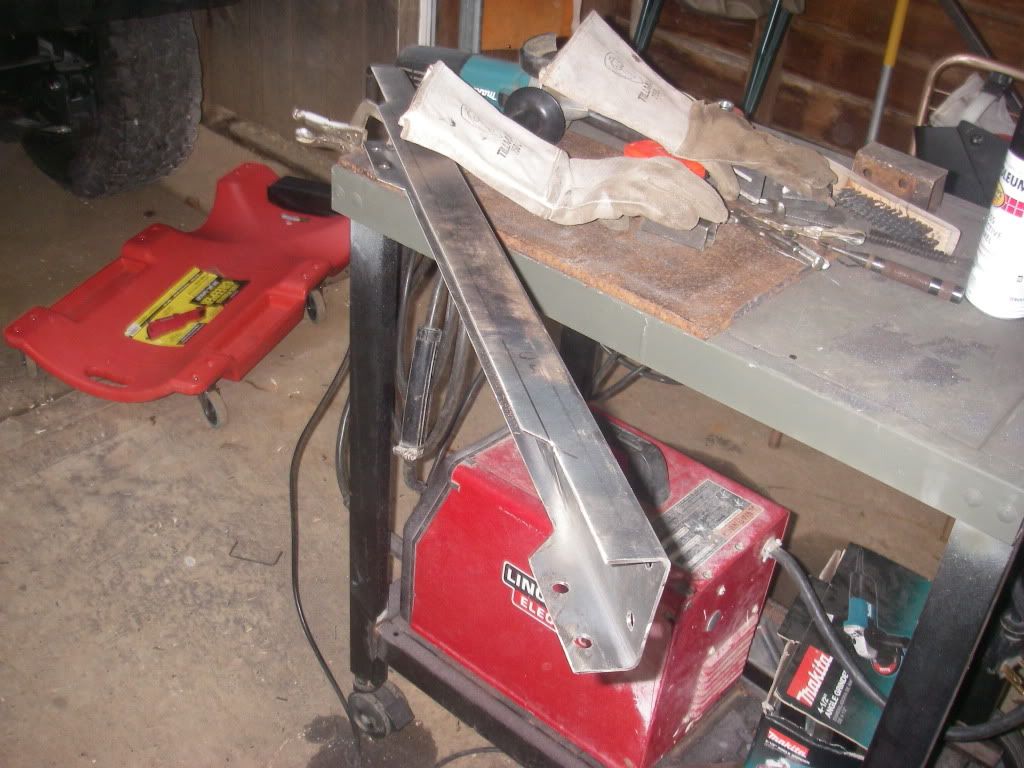
It fits the rear perfectly so I was pretty stoked about that.
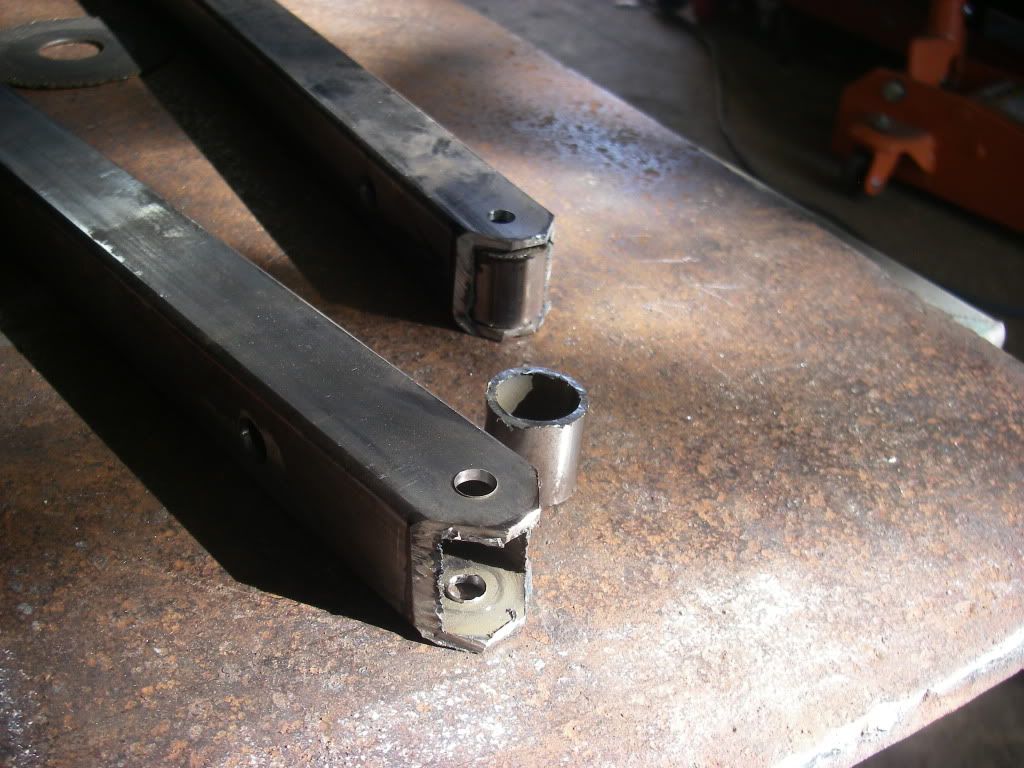
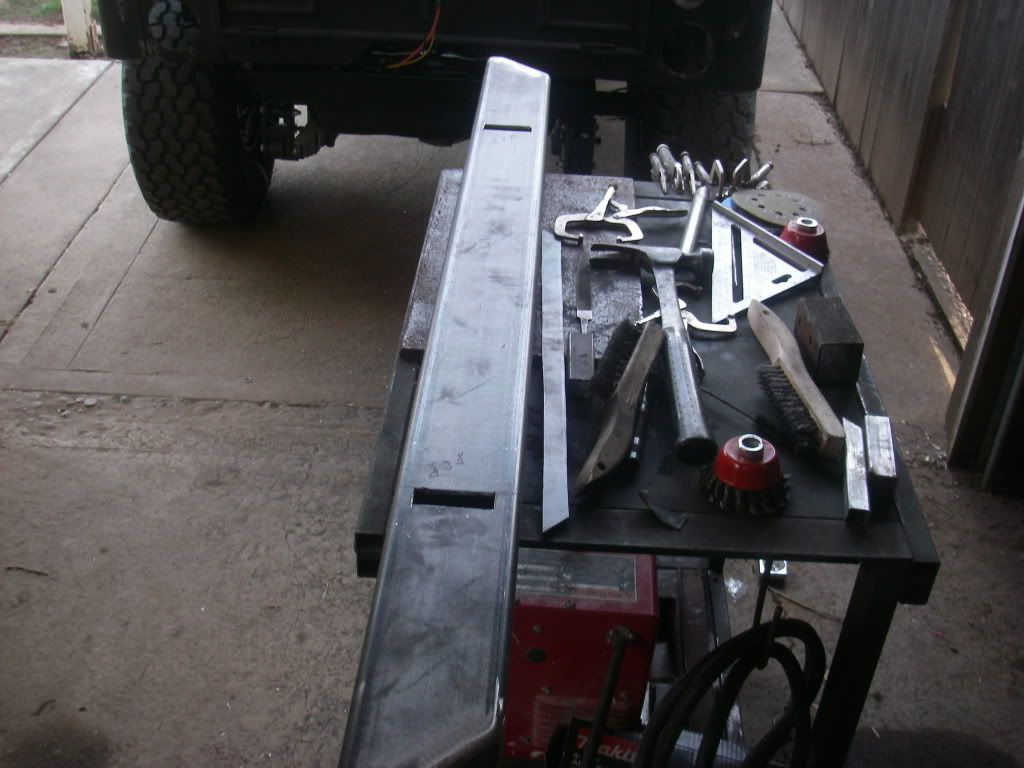
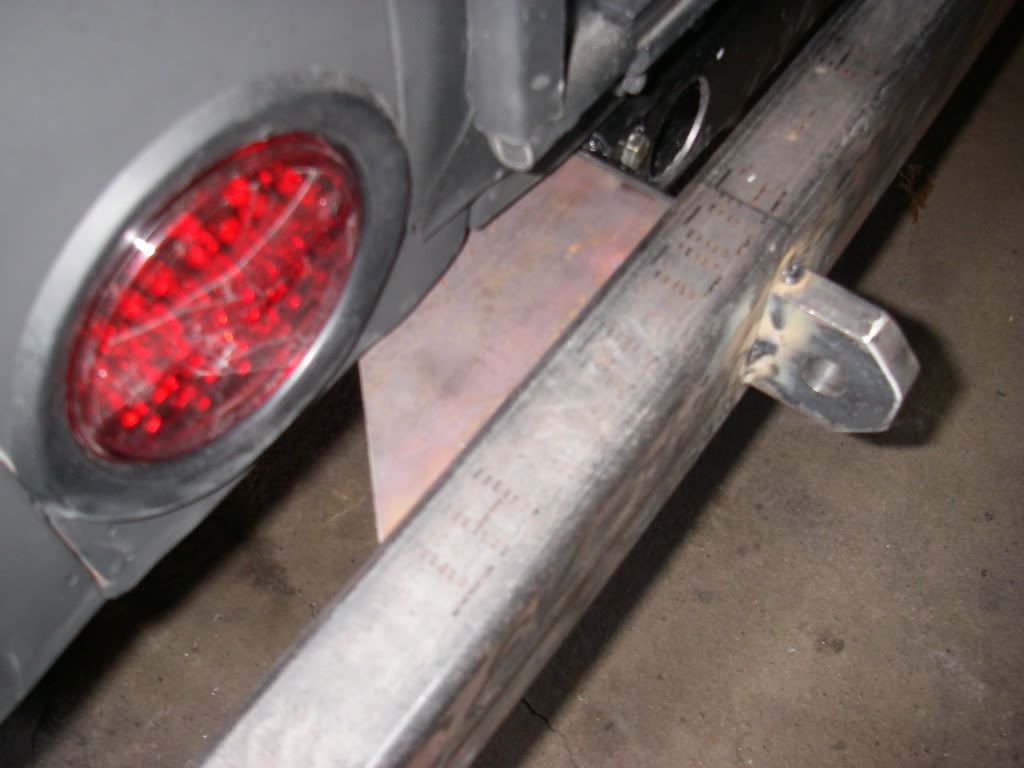
Next I pulled out my bumper I had started a while back, got out my sketch I posted on here and got to work getting some measurements.
Cut out the holes for the 3/4" x 2.5" to pass through:
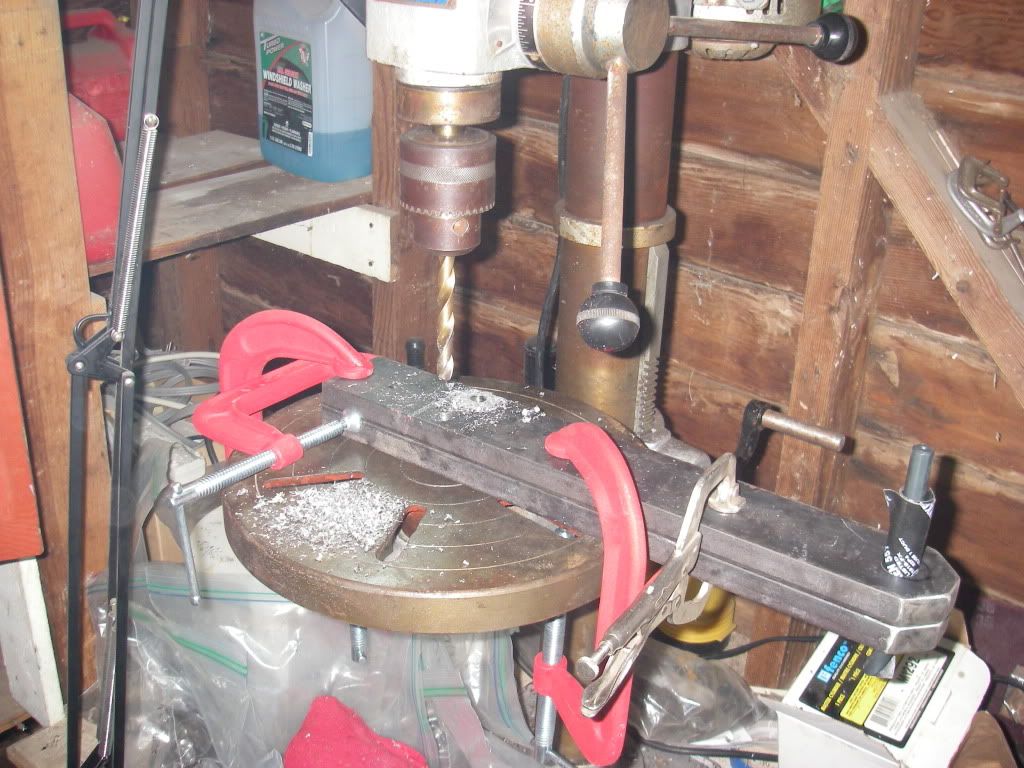
Next I cut, shaped, and drilled the 3/4" material so it will attach nicely to the frame:
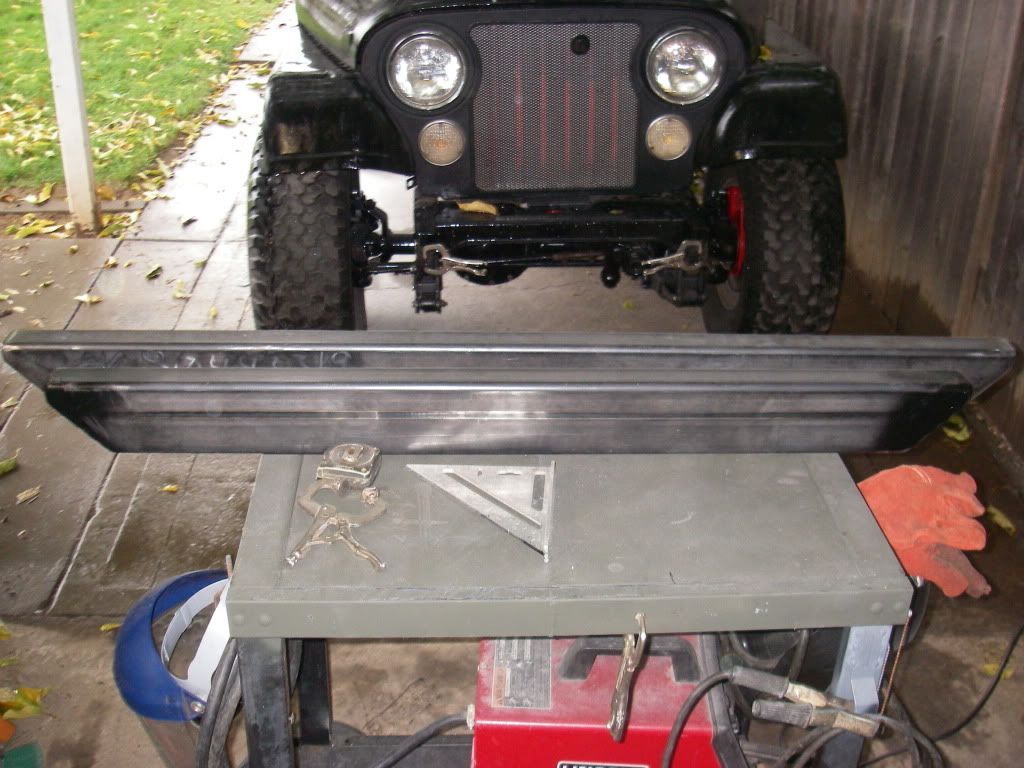
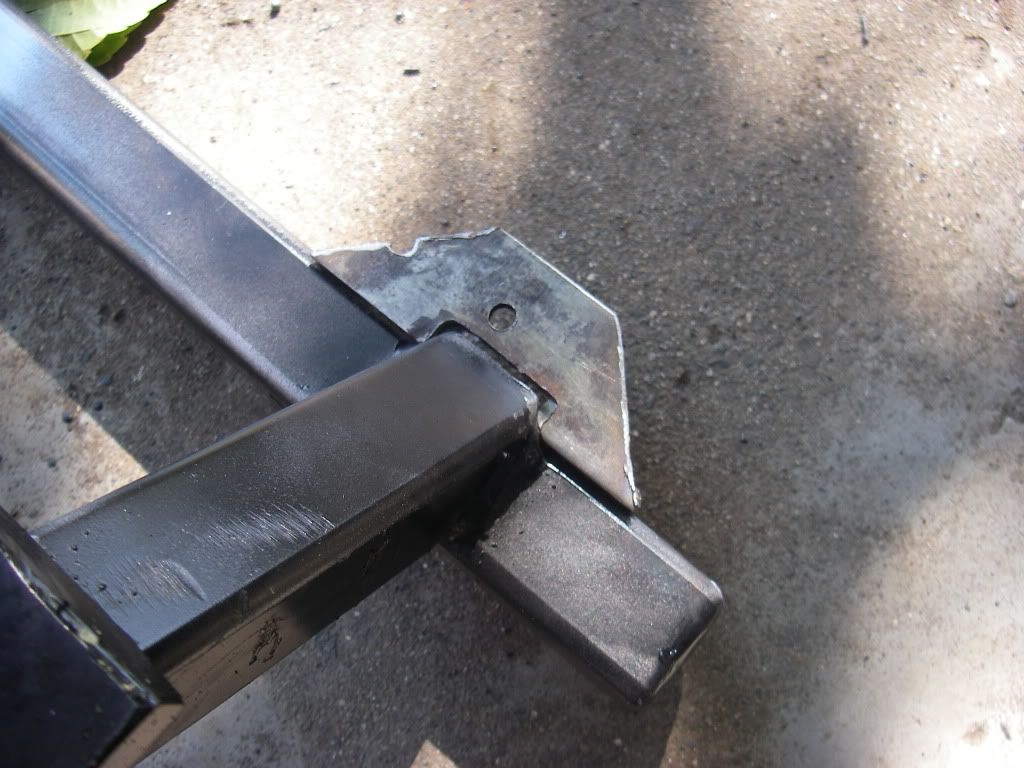
Then I mocked it up to see just how my creation will look when mounted:
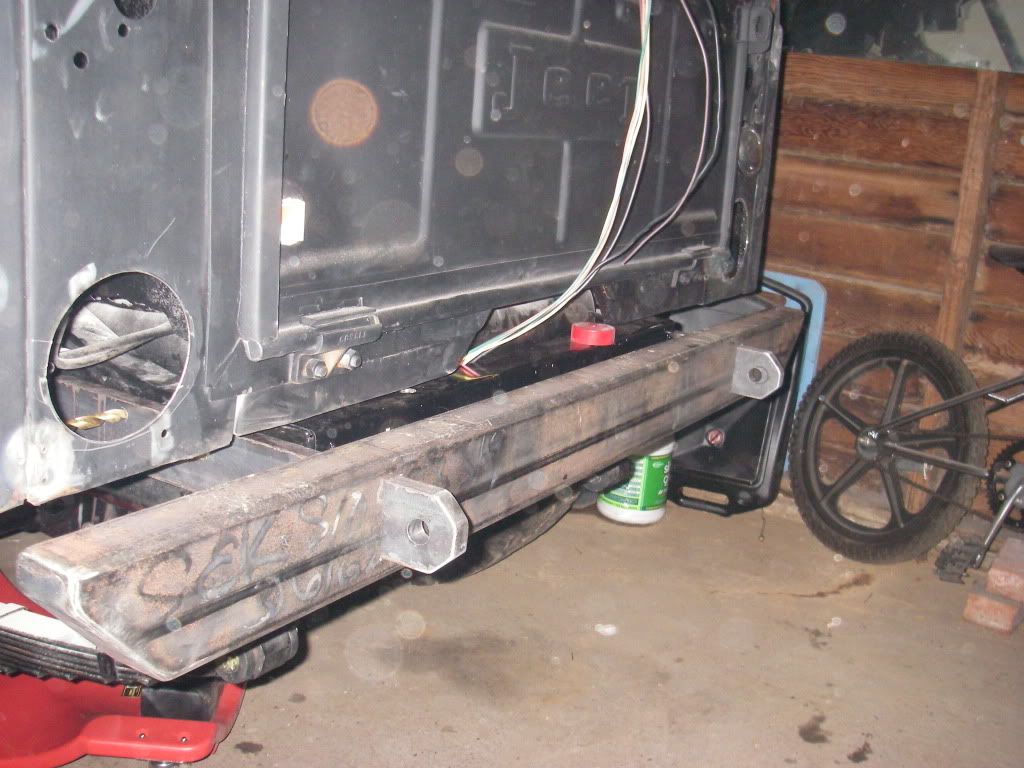
It sits away from the body a little bit but I am ok with that because this is how far it needs to be out to allow any vertical pieces (tire mount to come) to clear the tailgate.
I also picked up a piece of 3/16" sheet that I will cut some angled supports to tie the 3/4" back into the bumper and really make the rear end solid. So far it came together just like what I drew so I'm happy about that.
Also, it turns out I wil be getting a tax bill instead of a tax refund this year, so that should set the paint back a bit, Oh well, the flat black is growing on me.
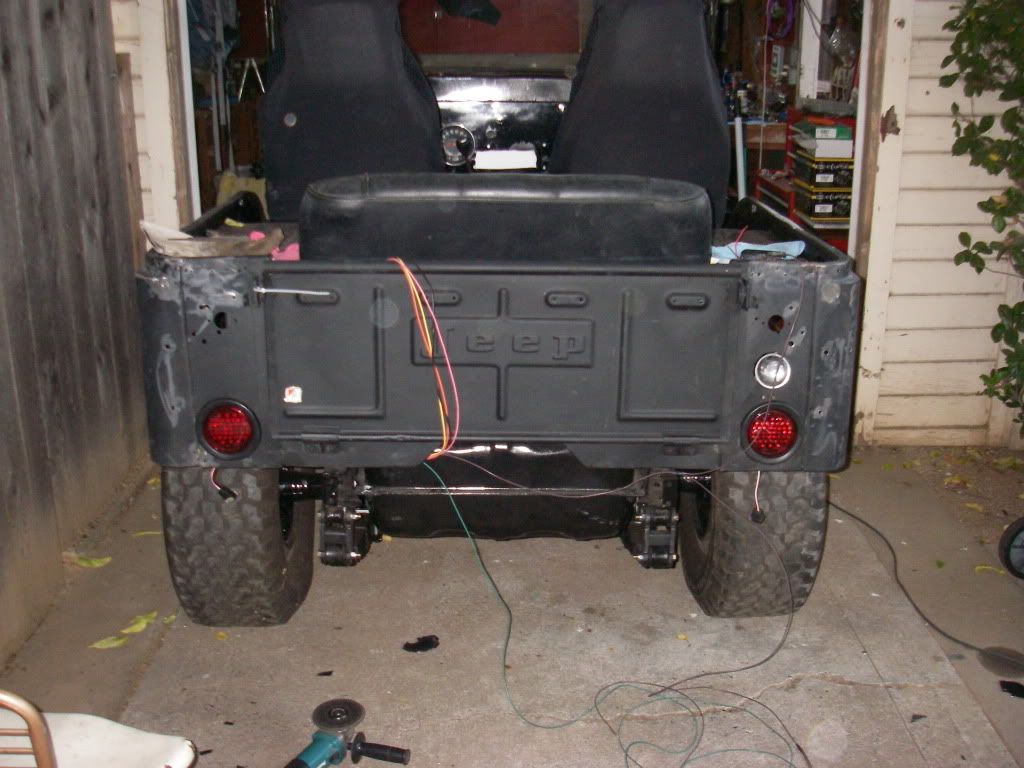
Next up I finally got the wiring figured out:
Running lights: Check
Headlights:Check
Left Turn Front: Check
Left Turn Rear: Check
Right Turn Front: Check
Right Turn Rear: Check
Emergency Flashers: Check
Brake Lights: Check
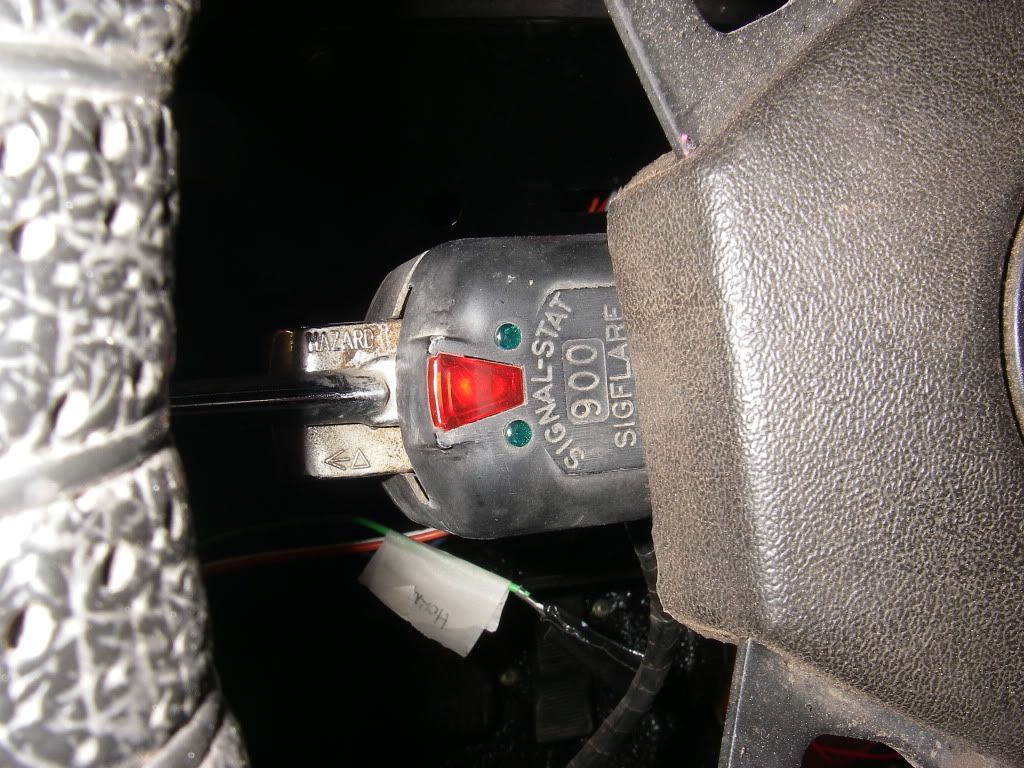
I replaced the stock turn signal column setup with one I got out of a '46 Ford Utility truck at the local junk yard. I just liked how this thing looked.
Signal Stat Pics
I tried to wire the crappy old brake switch, one of these:
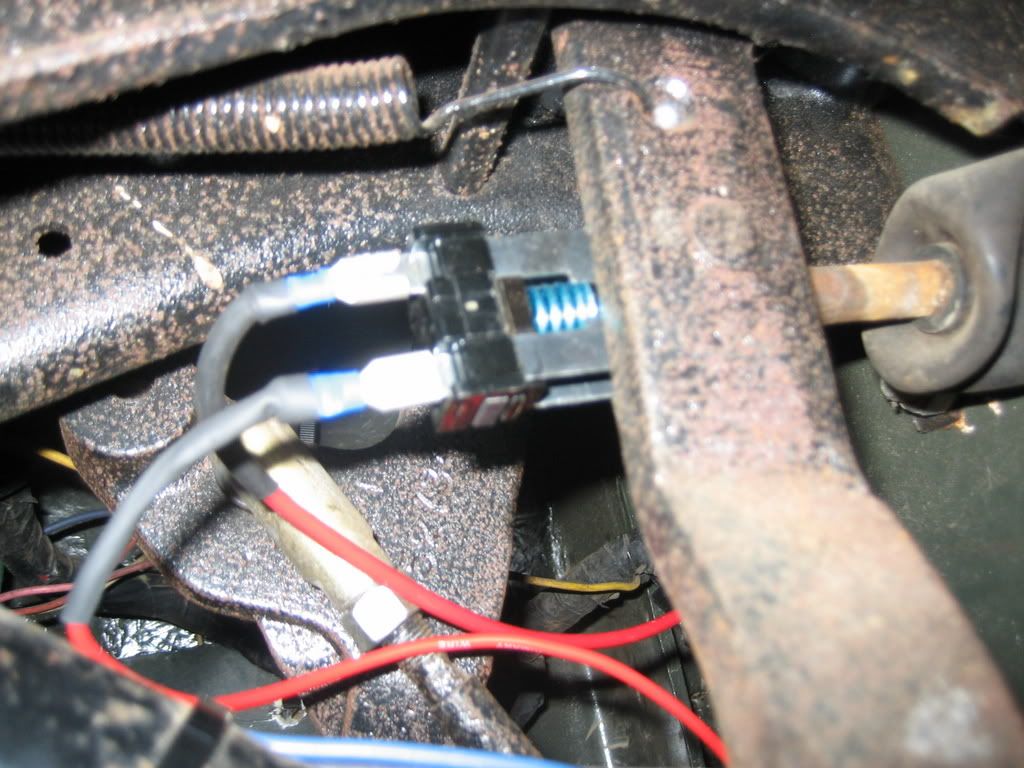
But it kept rotating on the post and grounding out the + wire causing me to start dropping expletives by the snowshovel full.
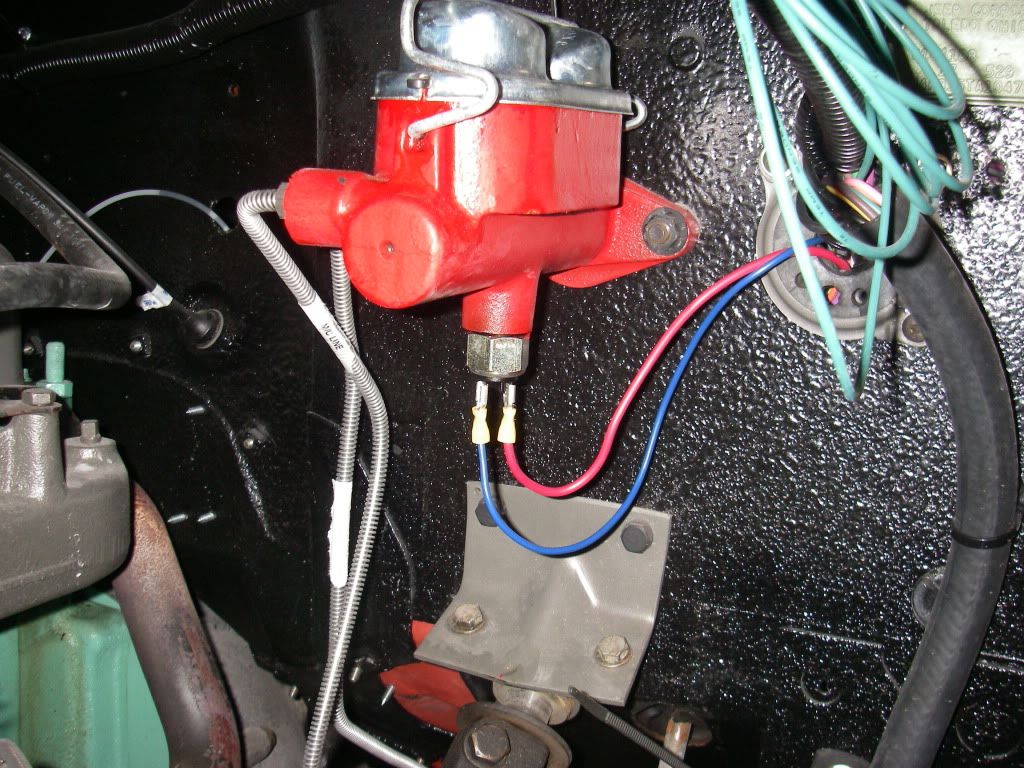
So I headed over to Napa and picked up a hydraulic brake switch out of some 1948 whatever which has a 1/8" x 27 threaded end that screwed right into the bottom of the Master cylinder.

It bridges two posts when it sense pressure from 60-120psi. This was a way better option as it got wires out from around my feet and onto the other side of the firewall. Pic of that installed:
And finally, last Sat I got a few hours on the pig.
I got the angle pieces welded up the rear bumper (this thing is crazy solid now!)
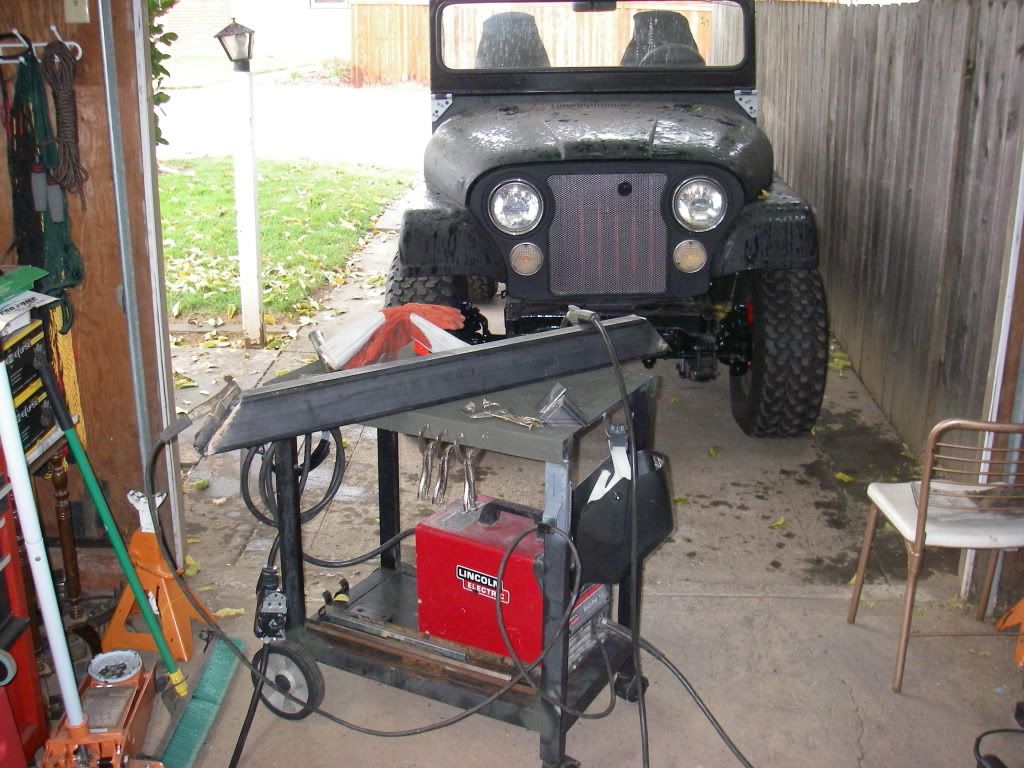
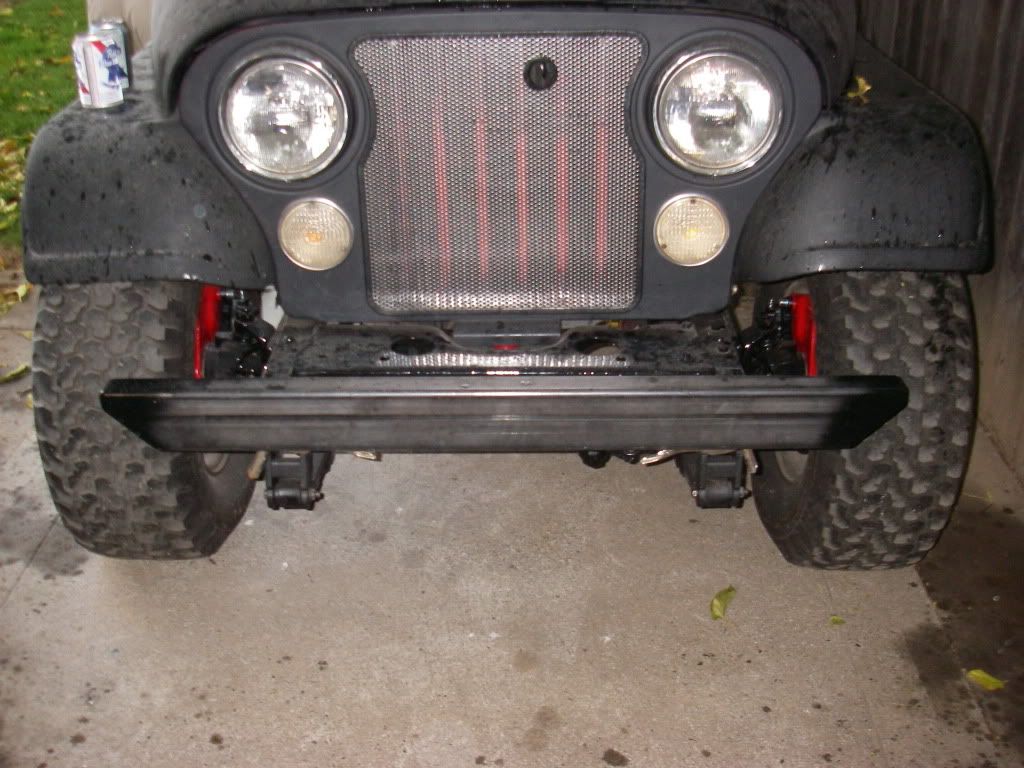
And then the front got the same bumper treatment as the rear:
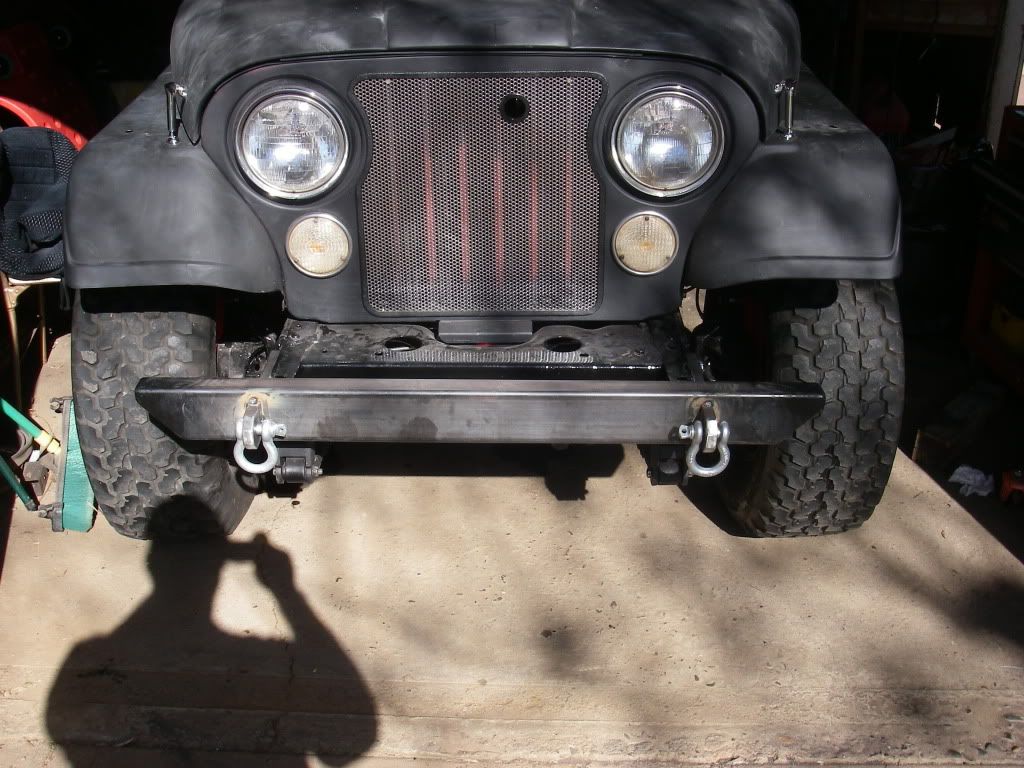
It attaches with 4 7/16s bolts per frame rail (only 2 in now)
Next, took her out for another couple spins around my hood.
I got my registration paid up for $89. So I should be getting one step closer to street legal. Then I can start trouble shooting. One spot I already found is the driver side rear brake wheel cylinder has a leak. I ordered a new set off Rock Auto for $4.60 a piece.
Its getting so close now!Hopefully my next update has pics of it in the wild!